Picture this: you’re planning a weekend getaway, excitedly packing your bags, and suddenly, you smell something. off. A subtle whiff of gas. Panic sets in, but you remember you’ve been meaning to learn how to install a gas filter. It’s not just about preventing a potential disaster; it’s also about peace of mind. This guide will walk you through the process, making it simple and manageable. You’ll gain the knowledge to protect your appliances and your home, boosting your confidence and reducing unnecessary stress. Prepare to become a pro at how to install a gas filter!
What You Need Before Installing a Gas Filter
Before you even think about picking up a wrench, you need to prepare. This involves gathering the right tools, understanding your gas line setup, and ensuring your safety. This section focuses on the preliminary steps that are important for a successful and safe installation. A little preparation now prevents a lot of headaches later. Knowing these details ensures the project moves smoothly and avoids any unexpected problems. Remember, safety first!
Gathering Essential Tools and Materials
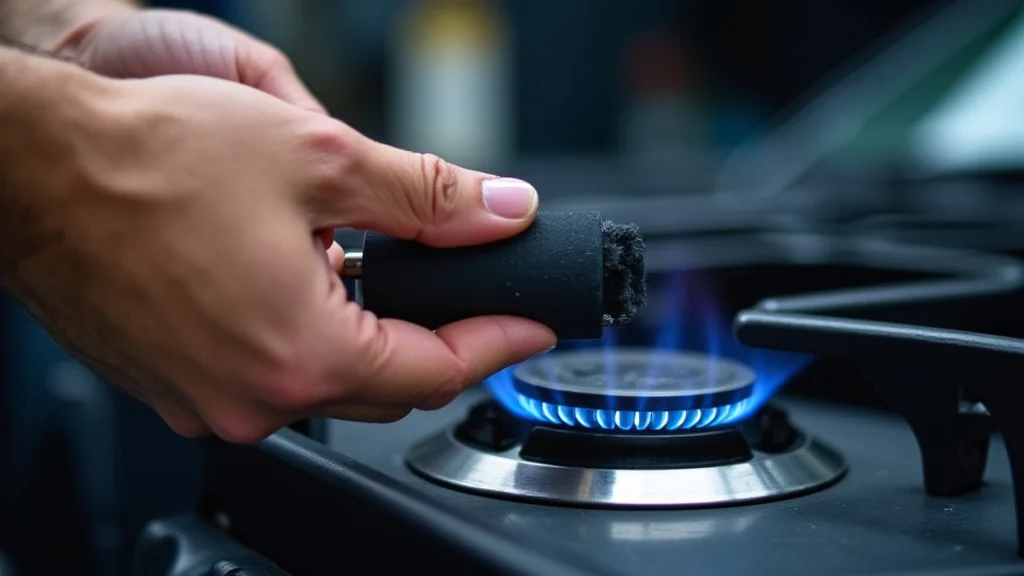
The first step is to gather everything you need. This might seem obvious, but having all the right tools on hand will save you time and frustration. You’ll need the correct type of gas filter (check your appliance’s specifications), pipe wrenches (various sizes), Teflon tape (specifically designed for gas lines), a pipe cutter or hacksaw, and soapy water in a spray bottle or a bottle with a sponge for detecting leaks. Avoid using any tools that could create sparks near the gas line. If you’re unsure about any of these, consult your appliance’s manual or contact a professional.
- Gas Filter: The primary component, ensuring compatibility with your gas line type. Confirm the correct size and pressure rating.
- Pipe Wrenches (set): Essential for gripping and tightening pipes securely. A set with different sizes provides flexibility.
- Teflon Tape: Also known as PTFE tape. Use this for sealing threaded connections, preventing leaks. Avoid using regular plumbing tape, which is not designed for gas.
- Pipe Cutter or Hacksaw: Needed to cut the gas pipe. A pipe cutter usually provides cleaner cuts.
- Soapy Water and Spray Bottle/Sponge: For leak detection. Mix water and dish soap, apply to joints, and watch for bubbles.
Did you know that according to the U.S. Energy Information Administration (EIA), natural gas is used to heat almost 50% of U.S. homes? Ensuring the safety of these gas lines is extremely important.
Safety Precautions to Take
Safety is absolutely the top priority. Before doing anything, turn off the gas supply. This is almost always found near the gas meter or the main gas shut-off valve. Double-check that the gas is off before working on the line. When working with gas, ventilation is key. Open windows and doors to ensure fresh air circulation and minimize the risk of gas buildup. Always have a fire extinguisher nearby, just in case. If you smell gas at any point during or after the installation, leave the area immediately and contact your gas company or a qualified technician. Never attempt to use a lighter or any open flame to check for leaks; use only soapy water.
- Turn Off the Gas Supply: Locate the main gas shut-off valve and turn it off completely.
- Ventilation: Open windows and doors to keep fresh air circulating.
- Avoid Sparks: Don’t use tools that could create sparks and stay away from open flames.
- Have a Fire Extinguisher: Keep a fire extinguisher close.
- Check for Leaks: Always test for leaks using soapy water.
Understanding Your Gas Line System
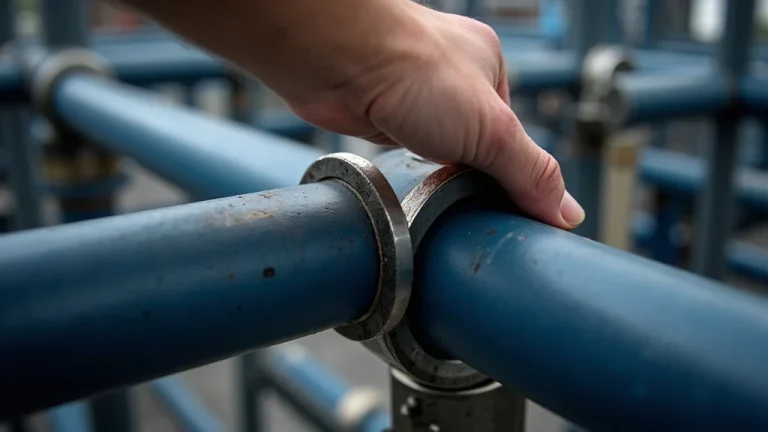
Familiarizing yourself with your home’s gas line setup is necessary. This starts with identifying the type of gas pipe you have. Most homes use either black iron pipe or corrugated stainless steel tubing (CSST). Inspect the pipe’s size and the way it connects to your appliances. Locate the existing gas shut-off valve nearest to where you’ll be installing the filter. This knowledge helps you choose the correct filter and fittings. Make sure you can comfortably access the area you’re working on. Plan your work carefully; mark the points where you’ll be making cuts, and determine the exact placement of the gas filter.
The Step-by-Step Guide: How to Install a Gas Filter
Now, let’s explore how to actually install the gas filter. We’ll break it down into easy-to-follow steps. If you are not familiar with gas line work, it is always a good idea to seek help from a licensed professional to guarantee your safety and ensure the job is done correctly.
Cutting the Gas Pipe
The first physical step is cutting the gas pipe. Use the pipe cutter or hacksaw to carefully cut the pipe at a point where the filter will fit. Ensure you cut the pipe straight so that the filter will seal properly. Before you cut, make sure the section of pipe is free from any obstructions or other connections. Clean any burrs or sharp edges from the cut ends using a deburring tool or file. This is important to ensure a tight seal and prevent future problems. The pipe must be cut cleanly, as a poorly cut pipe can lead to leaks and safety issues.
- Measure and Mark: Determine the exact spot for your cut. Measure the length of the gas filter and any fittings you will need. Mark the pipe accordingly.
- Use a Pipe Cutter: Place the pipe cutter around the pipe, tighten it, and rotate it evenly.
- Use a Hacksaw: If using a hacksaw, use slow and steady strokes to make a straight cut.
- Deburr the Edges: Use a deburring tool or file to remove any burrs or sharp edges from the cut.
Preparing and Installing the Filter
Before installing the gas filter, wrap Teflon tape around the threads of the filter and the fittings. This tape will help prevent leaks. Apply the tape in the direction the threads will turn when you tighten the fittings, typically clockwise. Make sure you apply the tape neatly. Next, thread the filter and the fittings onto the gas pipes. Tighten the connections using your pipe wrenches. Do not over-tighten, as this could damage the threads. Tighten it firmly until you have a good seal. The filter should be oriented so the gas flow direction matches the arrow on the filter’s body.
- Teflon Tape Application: Wrap Teflon tape around all threaded connections, following the correct direction.
- Thread Fittings: Screw the fittings onto the pipes, ensuring they are aligned.
- Attach the Filter: Connect the filter between the fittings and tighten using a pipe wrench.
- Check Flow Direction: Make sure the arrow on the filter points in the correct flow direction.
Testing for Leaks
Testing for leaks is the final step, but the most important. Once everything is assembled, it’s time to check if there are any gas leaks. Mix a solution of soapy water in a spray bottle. Turn the gas supply back on, carefully, and slowly. Spray the soapy water on all the joints and connections. If you see any bubbles forming, that indicates a leak. Tighten the connections further until the bubbles stop. If a leak persists, you may need to disassemble the connection, reapply Teflon tape, and try again. If you can’t resolve the leak, it’s necessary to contact a qualified gas technician. The safety of your home depends on it.
- Make Soapy Water: Mix dish soap and water in a spray bottle or a bottle with a sponge applicator.
- Turn On Gas: Slowly turn the gas supply back on at the main shut-off valve.
- Spray the Joints: Spray the soapy water solution on all the connections where you worked.
- Look for Bubbles: Watch for bubbles, which indicate a gas leak. Tighten connections as needed.
Advanced Considerations and Potential Issues
Once you are aware of the basic process of how to install a gas filter, there are more things to be aware of. This section covers advanced details and common problems that can happen. Dealing with these situations can improve the lifespan of the filter and also guarantee that your system continues to function properly.
Types of Gas Filters and Their Applications
The market provides various gas filters. Understanding these various types can make sure you pick the most suitable one for your needs. Sediment filters trap particles, helping to stop potential damage to gas appliances. These are essential for homes with older gas lines, or where sediment may be in the gas supply. Electronic gas filters use advanced sensors to identify and stop gas leaks. These usually have extra safety features. It is important to know the application to the type of gas filter you should use. Depending on the appliance and your home’s gas setup, your requirements will vary.
- Sediment Filters: These filters are used for removing particles and debris, protecting appliances.
- Electronic Gas Filters: Use sensors to detect and stop gas leaks.
- High-Capacity Filters: Designed to deal with greater gas flow rates.
- Specialty Filters: Created for specific appliances or gas types.
According to research, using the proper gas filter can reduce the risk of appliance failure by as much as 20%.
Troubleshooting Common Problems
When learning how to install a gas filter, you might experience issues. Being able to solve common problems is important. The most usual problems are leaks. If you find a leak, make sure you double-check all connections, and replace any damaged fittings. Reduced gas flow can also be an issue. If your appliances are not getting enough gas, ensure the filter is not clogged. If a new filter continues to cause problems, inspect the gas line for any obstructions. If you can’t solve these issues, you should contact a professional gas technician to perform a safety check.
- Leaks: Tighten connections, use more Teflon tape, or replace damaged parts.
- Reduced Gas Flow: Replace the filter or clear any obstructions.
- Filter Clogging: Clean or replace the filter frequently.
- Appliance Problems: Ensure the filter is compatible with your appliance and gas type.
Long-Term Maintenance and Care
Regular maintenance is needed to keep your gas filter running. Inspect the filter periodically. This involves checking for any signs of damage or blockage. Replace the filter as required, usually every six months to a year, or based on the manufacturer’s recommendations. This schedule might change depending on the gas quality and appliance usage. Keep a record of your inspections and filter replacements, this helps you track performance. In case of issues, always seek professional help to handle potential gas line issues. Proper care extends the filter’s life and guarantees your safety.
- Regular Inspections: Examine your filter frequently to spot any problems.
- Filter Replacement: Change your filter regularly, depending on your appliance usage.
- Professional Checks: Have a qualified technician inspect your system annually.
- Proper Ventilation: Ensure good ventilation in the area where the gas appliances are located.
Frequently Asked Questions
Question: How often should I replace my gas filter?
Answer: It’s recommended to replace your gas filter every 6 to 12 months, or as recommended by the manufacturer. The replacement frequency will depend on the appliance and gas quality.
Question: What’s the difference between a sediment filter and an electronic gas filter?
Answer: A sediment filter traps particles and debris to protect appliances, while an electronic filter uses sensors to detect and automatically stop gas leaks, providing an additional layer of safety.
Question: Can I use any type of Teflon tape on gas lines?
Answer: No, you should only use Teflon tape specifically designed for gas lines. Standard plumbing tape is not suitable for gas lines because it does not have the same sealing properties.
Question: What should I do if I smell gas after installing the filter?
Answer: If you smell gas at any time after installation, immediately turn off the gas supply, evacuate the area, and contact your gas company or a qualified gas technician.
Question: Is it necessary to hire a professional to install a gas filter?
Answer: While the instructions explain how to install a gas filter, it’s generally a good idea to seek help from a licensed professional, especially if you are not experienced with gas line work, for safety reasons and to ensure a perfect installation.
Final Thoughts
You’ve successfully explored how to install a gas filter! Remember, it’s about preparation, execution, and, most importantly, safety. Now that you’ve got the knowledge, you’re empowered to protect your home. You’ve learned the steps, from gathering the right tools to testing for leaks. With each installation, your confidence grows. It’s about taking proactive steps to safeguard your appliances and, above all, the people you care about. If you’re comfortable, take the leap! If in doubt, remember that a licensed professional is always ready to assist. Stay safe, stay informed, and enjoy the peace of mind that comes with a properly installed gas filter.